
Table of Contents
What makes it even better? It’s quick, easy, and requires only a few simple ingredients. You don’t need to be a seasoned baker to achieve this stunning, delicious result. Ready to get started? In this guide, we’ll walk you through everything you need to know to create the best rainbow bread in no time.
What is Rainbow Bread and Why Should You Make It?
The Allure of Rainbow Bread
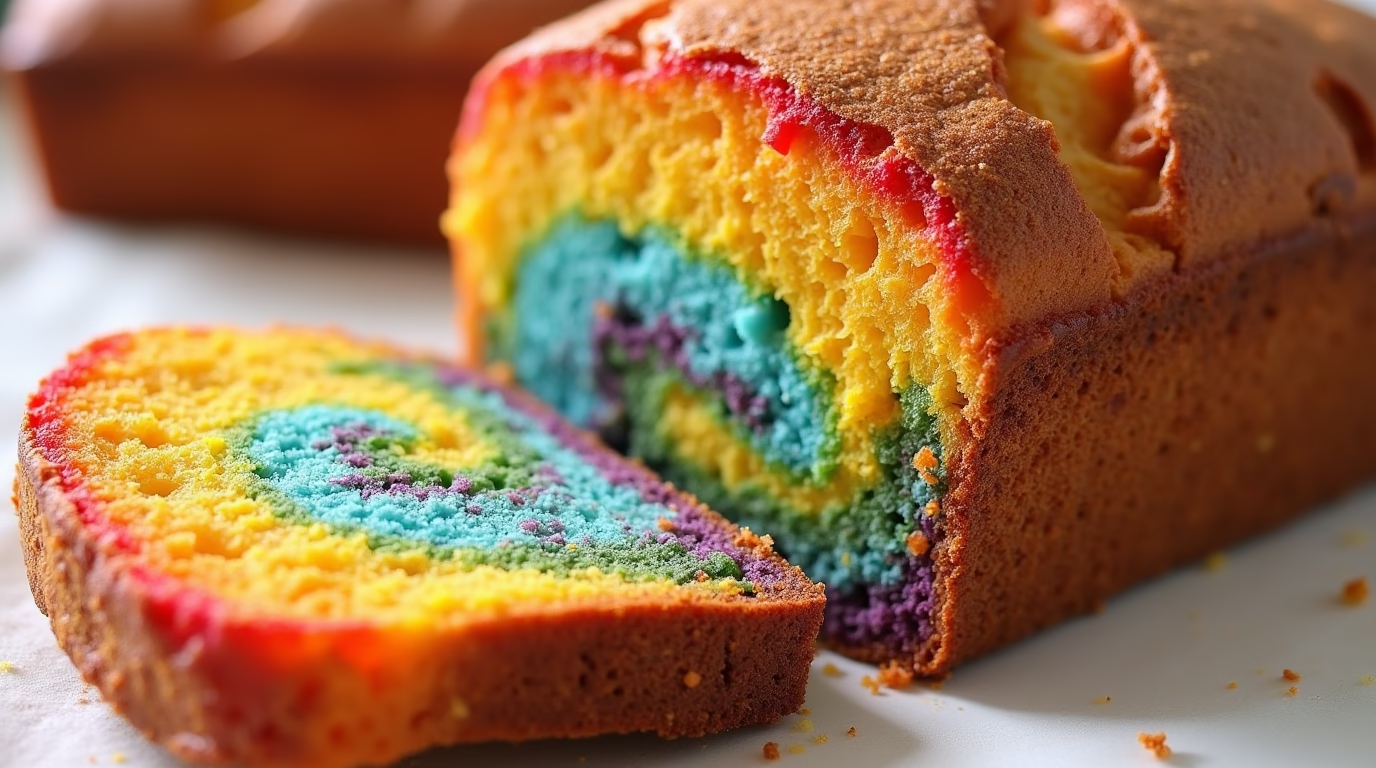
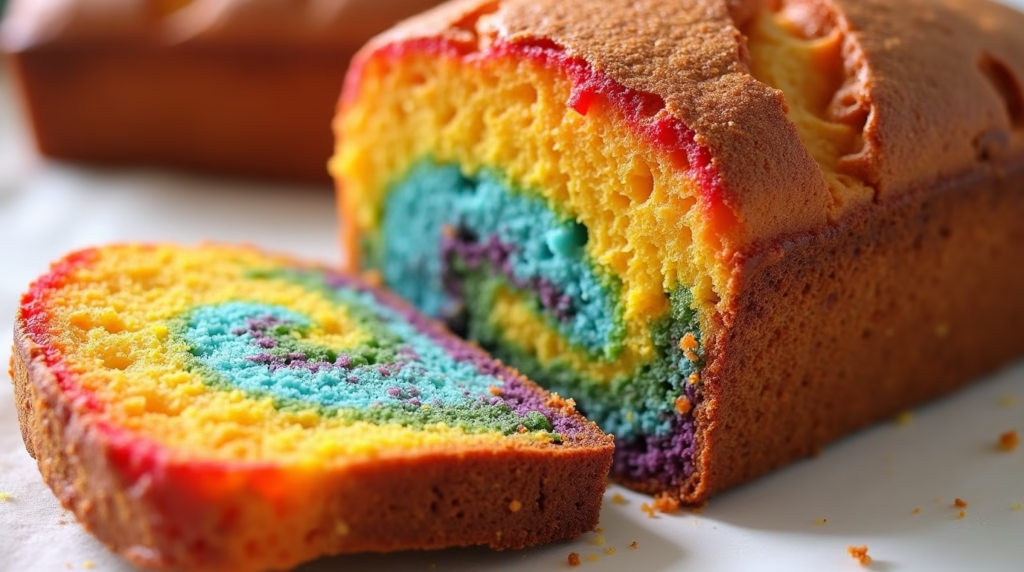
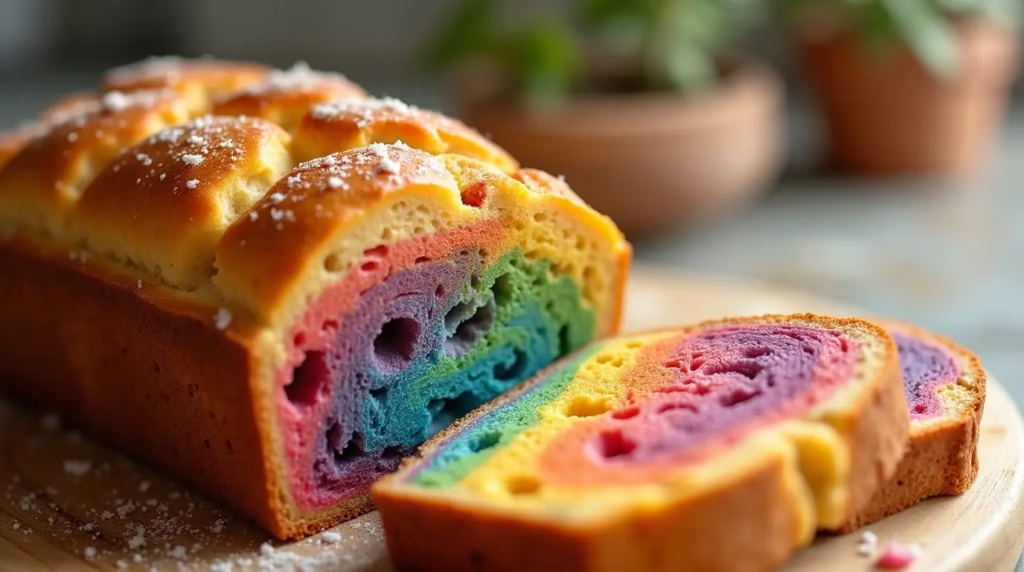
Rainbow bread is exactly what it sounds like—a loaf of bread made with dough that’s been colored in vibrant hues, creating a stunning rainbow effect when you slice it. It’s not just about adding colors, though. The technique behind rainbow bread incorporates simple baking skills that allow the dough to rise properly, creating a soft, fluffy texture that’s perfect for sandwiches, toast, or simply enjoying as is.
The concept of rainbow food has gained massive popularity over the years, thanks to its visual appeal. People love to see beautiful, colorful foods on their plates, and rainbow bread is the perfect example of that trend. From birthday parties to holidays, rainbow bread adds a touch of fun and excitement to any occasion. Plus, it’s so easy to make, it’s almost impossible not to try it yourself!
Why You Should Make Rainbow Bread
So, why should you take the time to make rainbow bread? Here are some compelling reasons:
- It’s Fun to Make: Whether you’re baking with your kids, impressing your friends, or just enjoying the process yourself, creating rainbow bread is an enjoyable experience.
- It’s Great for Special Occasions: Want to add something extra to your next birthday party, family gathering, or holiday meal? Rainbow bread is the perfect conversation starter and showstopper.
- It’s Customizable: You can create your own variations of rainbow bread by adding different flavors, like vanilla, cinnamon, or even savory ingredients.
- It’s Easy to Make: You don’t need advanced baking skills to create rainbow bread. With a few simple steps, you can achieve a gorgeous loaf that looks and tastes amazing.
Ingredients for the Best Rainbow Bread (Quick and Easy)
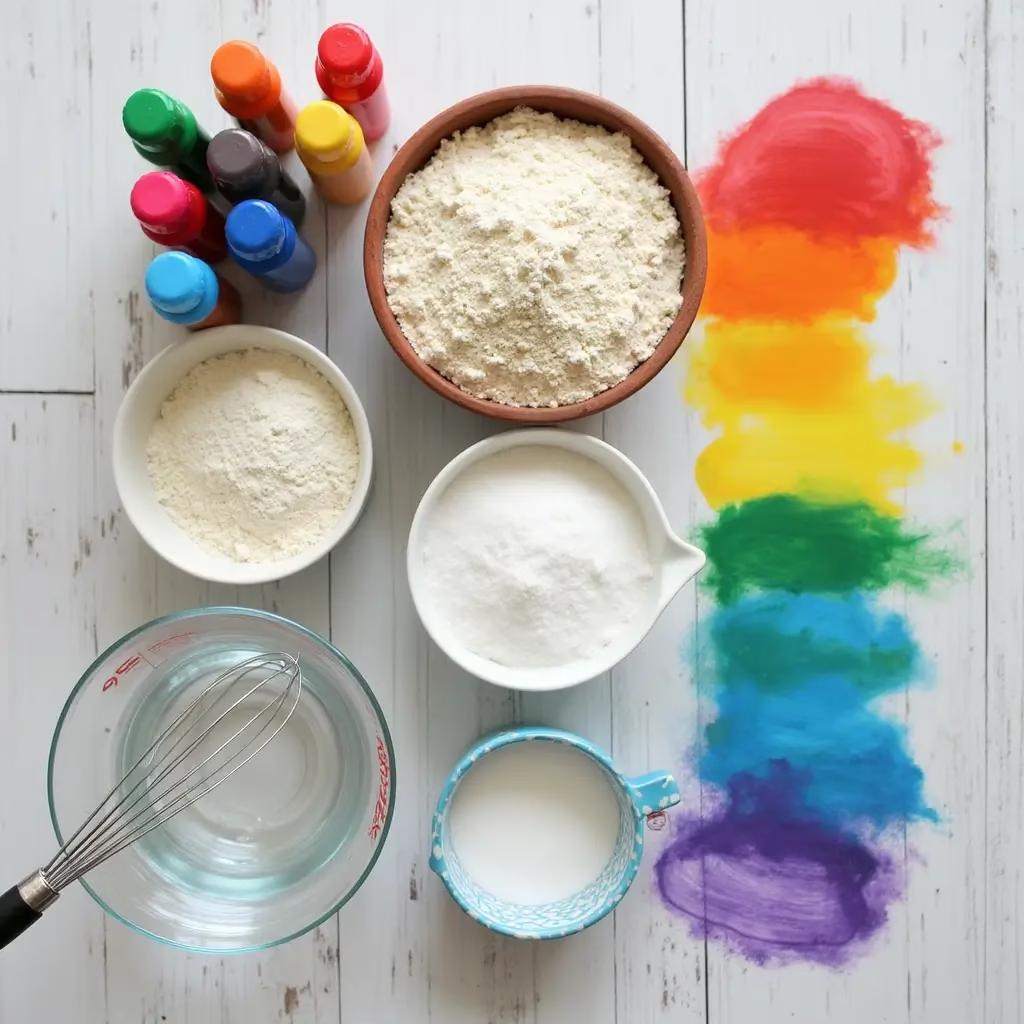
Before you start, let’s go over the ingredients you’ll need. Don’t worry; this recipe is simple and doesn’t require any special equipment or complicated ingredients. Just a few basics that you probably already have in your kitchen!
Essential Ingredients for the Bread Dough
To get started, you’ll need to prepare the dough. Here’s a list of the main ingredients you’ll need:
- All-Purpose Flour: This will form the base of your dough. It’s essential for creating the right texture and structure for the bread.
- Active Dry Yeast: Yeast is what helps the bread rise, giving it that fluffy, airy texture that we all love.
- Sugar: A little sugar is needed to activate the yeast, helping it rise and create a light, fluffy loaf.
- Salt: Salt balances the flavors and enhances the taste of the bread.
- Warm Water: The warm water helps activate the yeast, allowing the dough to rise properly.
Food Coloring: The Magic Ingredient
Now, the fun part! The food coloring is what will give your bread its rainbow hues. You can use either liquid or gel food coloring for this, depending on what you have on hand. You’ll need six different colors to create your rainbow: red, orange, yellow, green, blue, and purple. If you prefer, you can also use natural coloring agents like beetroot juice, spinach, and turmeric for a more organic approach.
Optional Add-Ins for Extra Flavor
While rainbow bread is delicious on its own, you can make it even better by adding some optional ingredients to the dough. Here are a few ideas:
- Honey: A tablespoon of honey will add a bit of sweetness and moisture to your bread.
- Olive Oil: Adding a tablespoon of olive oil will make the bread softer and give it a richer texture.
Step-by-Step Guide: How to Make Quick and Easy Rainbow Bread
Now that you’ve gathered your ingredients, let’s dive into the process. This step-by-step guide will help you create the perfect loaf of rainbow bread from start to finish.
Step 1: Prepare the Dough
- In a large mixing bowl, combine 2 ½ cups of all-purpose flour, 2 teaspoons of active dry yeast, 1 tablespoon of sugar, and 1 teaspoon of salt. Mix them together until they’re well combined.
- Gradually add 1 cup of warm water to the dry ingredients. Make sure the water is warm, not hot, as hot water can kill the yeast. Stir until the mixture starts to form a dough.
- Once the dough comes together, knead it on a clean surface for about 5–7 minutes. The dough should become smooth and elastic.
- Place the dough in a greased bowl and cover it with a clean kitchen towel. Let it rise in a warm place for 1 hour or until it has doubled in size.
Step 2: Divide and Color the Dough
Once your dough has risen, it’s time to divide it into six equal portions. This is where the magic happens!
- Take your dough and gently punch it down to release any air bubbles.
- Divide the dough into six portions, one for each color of the rainbow.
- Add a few drops of food coloring to each portion. Knead the dough until the color is fully incorporated. Repeat this process with all the dough portions.
- If you’re using natural food colorings, be sure to use gloves to avoid staining your hands.
Step 3: Shape the Rainbow Bread
Now that each portion of dough is a different color, it’s time to shape the bread!
- Take each colored portion of dough and roll it into a long strip. Try to make the strips as even as possible so they’ll bake uniformly.
- Layer the strips of dough in a loaf pan, alternating the colors to create a rainbow effect. Press each strip down gently so that they fit together without leaving gaps.
- Once all the strips are in the pan, cover it with a towel and let the dough rise for an additional 30 minutes.
Step 4: Bake the Rainbow Bread
- Preheat your oven to 350°F (175°C).
- Once the dough has risen, place the loaf pan in the oven and bake for 25–30 minutes. The bread should be golden brown on top and sound hollow when tapped.
- Remove the bread from the oven and allow it to cool for 10 minutes before transferring it to a wire rack.
Tips for Making the Best Rainbow Bread Every Time
Making rainbow bread is simple, but there are a few tips that can ensure you get the best results every time:
- Use Fresh Yeast: Make sure your yeast is active. If the dough doesn’t rise or doesn’t bubble when mixed with warm water, your yeast might be expired.
- Be Patient with Rising Times: Don’t rush the rising process. Allow the dough to rise fully before baking to achieve the lightest, fluffiest loaf.
- Choose High-Quality Food Coloring: If you’re using liquid food coloring, be sure to choose a high-quality brand to get the most vibrant results.
- Don’t Overfill the Pan: Leave some space in the pan for the dough to rise. If the pan is too full, the dough might not rise properly and could become dense.
- Experiment with Flavors: While the bread itself is delicious, you can experiment with different flavor combinations. Adding vanilla extract, cinnamon, or grated cheese can give your bread a unique twist.
Variations of Rainbow Bread: Mix Up the Flavors
While the classic rainbow bread is always a hit, there are many variations you can try to mix things up:
- Sweet Rainbow Bread: Add vanilla extract, cinnamon, or a bit of chocolate chips to the dough for a dessert-style bread.
- Savory Rainbow Bread: Try adding grated cheese, garlic powder, or herbs like rosemary for a savory variation.
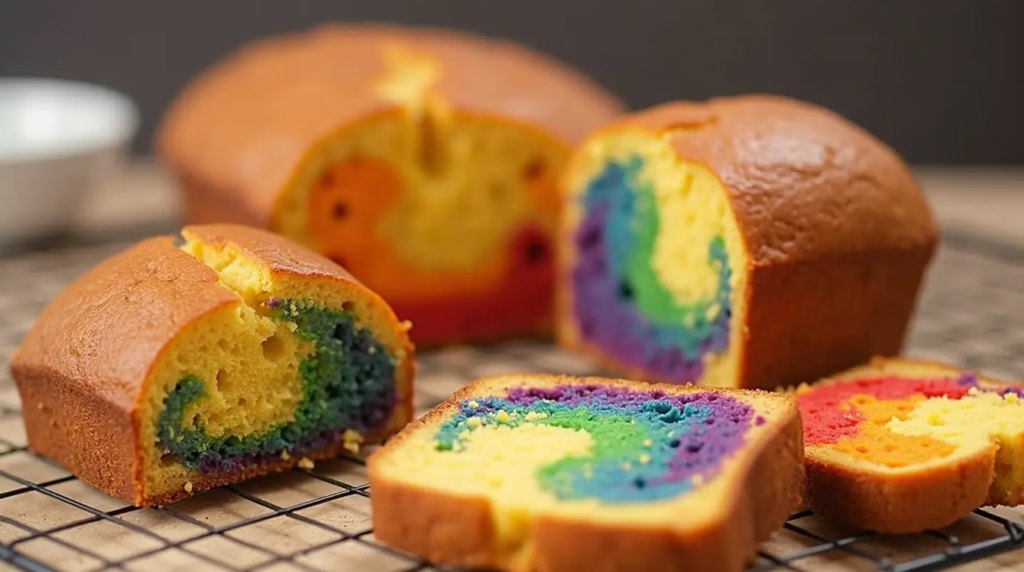
- Mini Rainbow Rolls: Instead of a loaf, roll the colored dough portions into mini rolls. These are perfect for serving at parties or as a fun snack for the kids.
Rainbow Bread: A Showstopper for Any Occasion
Rainbow bread is perfect for just about any occasion. Here are a few ideas for when to make it:
- Birthday Parties: The colorful, festive nature of rainbow bread makes it perfect for birthday parties, especially if you’re celebrating with kids.
- Holidays and Special Events: Rainbow bread adds a special touch to holidays like Easter, Christmas, or even Thanksgiving. It’s sure to impress your guests.
- Family Bonding: Baking rainbow bread is a fun, hands-on activity for the whole family. Let the kids pick their colors and get involved in the process.
FAQ: Everything You Need to Know About Rainbow Bread
Can I make rainbow bread without food coloring?
Yes! If you prefer a more natural approach, you can use beetroot juice for red, spinach or kale juice for green, and turmeric for yellow. These natural alternatives will create beautiful, vibrant colors.
How do I store rainbow bread?
Rainbow bread is best enjoyed fresh, but you can store it in an airtight container for up to 3 days. For longer storage, slice the bread and freeze it for up to a month. Just toast the slices when you’re ready to enjoy!
Can I use gluten-free flour to make rainbow bread?
Absolutely! You can swap the all-purpose flour for gluten-free flour, but you may need to add a bit of xanthan gum to help bind the dough together.
Can I make this bread in a bread machine?
Yes! You can use a bread machine to make the dough. Just follow the machine’s instructions for the dough setting, then divide, color, and shape the dough as directed.
Conclusion:
Rainbow bread is more than just a fun baking project—it’s a beautiful and delicious way to bring color and joy to your kitchen. Whether you’re baking it for a special occasion or just because this easy recipe will wow your family and friends. By following these simple steps, you can create a loaf of bread that’s as tasty as it is visually stunning. So, why not give it a try today? Get creative, have fun, and enjoy the magic of rainbow bread!
Don’t forget to share your meal with us on Pinterest